
Remove Mold From Walls & Ceilings Without Ruining Paint
Bleach bleaches paint and misses mold roots. The EPA-backed, paint-safe way to remove mold from walls and ceilings for good, and stop it from coming back.
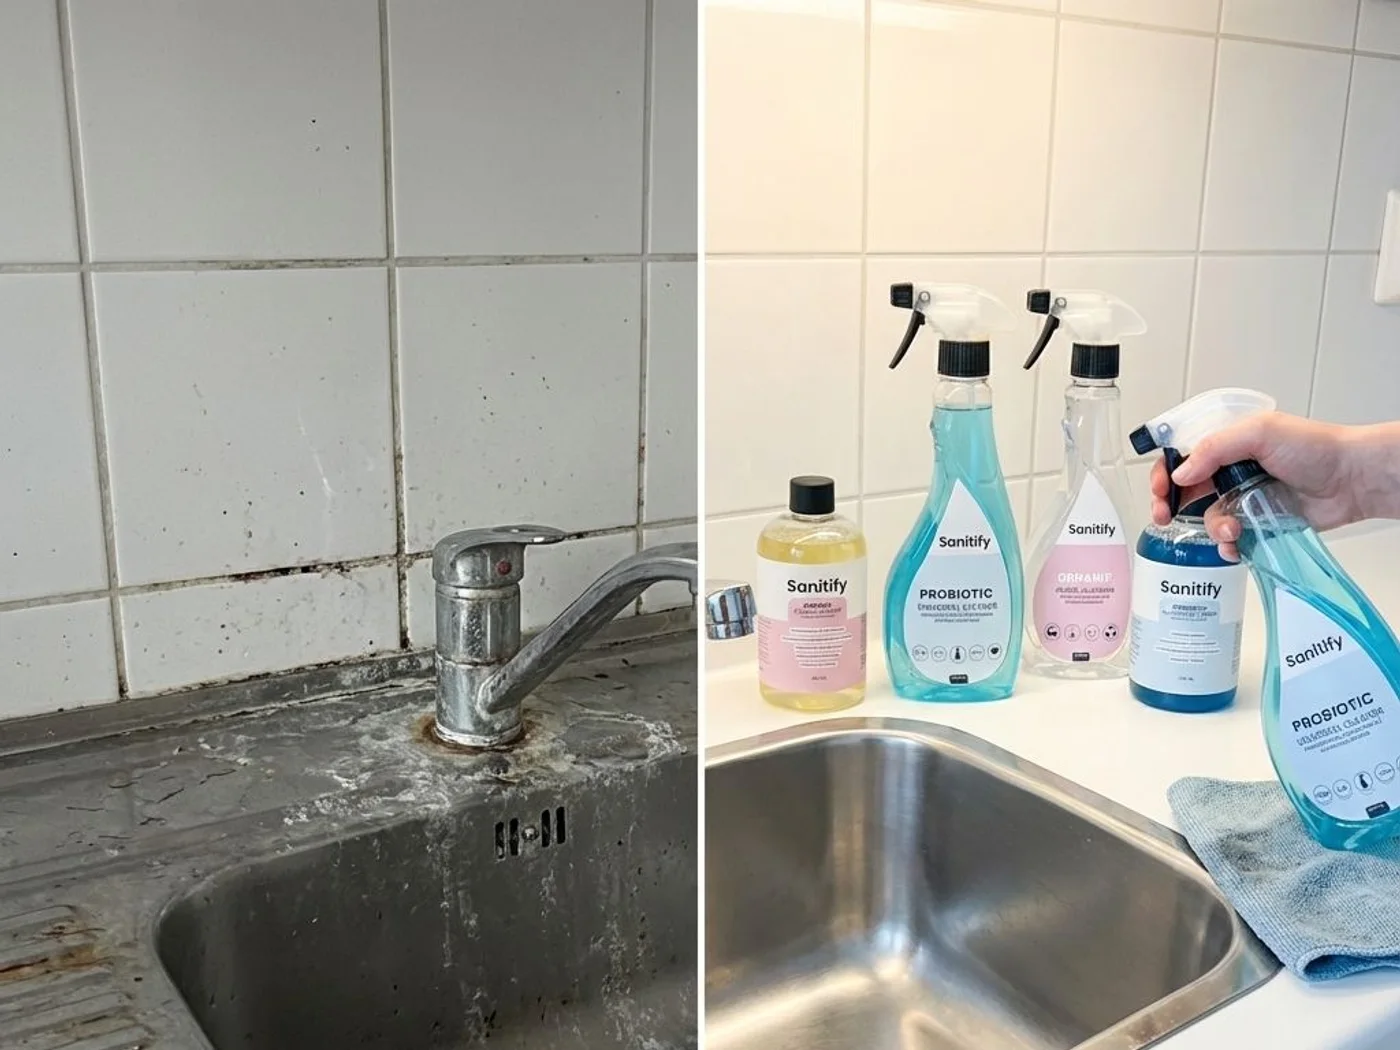
You've scrubbed at it once already. Maybe with bleach, maybe with a magic eraser you found under the sink. The mold came back lighter, sure — but so did the paint around it, and now you've got a pale, blotchy patch where the mold used to be, plus a headache from the fumes. That's the part nobody warns you about. Bleach on a painted wall bleaches the paint. It fumes up the room. And the mold shadow comes back anyway, because bleach never actually reached the roots to begin with. There's a gentler way to do this — one that treats the surface so regrowth has nowhere left to grab onto. Let's get into it.
Surface Mold vs. a Moisture Problem Behind the Wall
Not all wall mold is the same problem, even though it looks identical from across the room.
The first kind sits on top of the paint film — a thin colony feeding on dust, skin cells, and the occasional bit of soap film that's landed on the surface. It's ugly, but it's shallow. A good cleaning gets rid of it because there's nothing underneath to worry about.
The second kind is worse. It's rooted into the drywall or plaster itself, using the paint film as nothing more than a doorway it already walked through. This only happens when moisture has gotten past the paint and into the porous material underneath — and once that's happened, wiping the surface does basically nothing. The mold isn't on the wall anymore. It's in it.
How do you tell which one you're dealing with? Look at the paint, not the mold. If the paint is intact — smooth, flat against the wall, no bubbles or flaking — you're almost certainly dealing with surface mold. The EPA is direct about what it means when the paint isn't intact: peeling, bubbling, or cracking paint signals that moisture has already gotten behind the film. That's your tell. A wall with lifting or bubbled paint isn't a cleaning job anymore; it's a sign that water beat you to the drywall first, and the material underneath may need to come out rather than get scrubbed.
Check both walls and ceiling the same way before you touch a sponge to anything.
Why Bleach Is the Wrong First Move on a Painted Wall
Here's the thing about bleach that most cleaning advice glosses over: it's a bleaching agent. That's the whole mechanism. It strips color. On a white tile or a stainless sink, that's irrelevant — there's no pigment to lose. On a painted wall, it's the entire problem.
Sources across the home-improvement world land on the same conclusion here. According to Real Homes, bleach can strip color from painted walls and leave a blotchy, lighter patch behind — and it doesn't penetrate nearly as deep into the surface as most people assume. Nimbus Homes makes the same point: bleach sits on top, does its bleaching thing, and leaves the actual fungal structure mostly untouched underneath.
So you end up with the worst of both outcomes. The pigment's gone in a patch shaped exactly like your scrub marks, and the mold — the part that was never just sitting on the surface to begin with — is still down there, waiting for the room to get humid again.
What actually needs to happen isn't "killing" the visible mold. It's physically removing it and drying the surface underneath so it has nothing to feed on. That's a completely different job than reaching for a bottle of bleach and hoping.
The EPA Method: Gentle Removal Step-by-Step
The EPA's guidance on this is refreshingly unglamorous. No special formulas, no proprietary chemistry — just a sequence that works.
First: fix the moisture source. Not after cleaning. Before. If you scrub a wall spotless and the leak or condensation problem underneath is still active, you've bought yourself a few weeks, tops.
Then prep the room. Ventilate — open a window, run a fan pointing outward if you have one. If the area's large or you're working near furniture and flooring you'd rather not dust with mold spores, seal it off with plastic sheeting taped along the edges. Put on your protection: an N-95 respirator, gloves — natural rubber, neoprene, or nitrile — and goggles. The EPA lists all three specifically, and it's worth taking seriously; you're aerosolizing spores every time you scrub.
For the actual cleaning, you've got two solid options on a painted surface. Plain detergent and warm water, applied with a sponge or soft cloth, works for surface-level growth — the EPA's own guidance is to scrub mold off hard surfaces with detergent and water, then dry completely. For anything more stubborn, the vinegar method gets recommended across multiple cleaning sources: mix three parts white vinegar to one part water in a spray bottle, spray the moldy area, let it sit for a few minutes, then scrub gently with a soft-bristle brush before rinsing. The acidity works into the surface a bit rather than just bleaching the visible spot the way bleach does — that's the distinction MoldGuys draws, and Real Homes backs it up.
One caution worth flagging before you grab a brush: paint sheen changes how forgiving this process is. Homedit notes that semi-gloss or satin finishes tolerate scrubbing just fine, but flat or eggshell sheens can show scrub marks, or need a touch-up afterward. Test an inconspicuous spot first if you're nervous about it.
Then — and this is the step people skip — dry the wall completely. Fans, open windows, a dehumidifier if the room allows it. Damp drywall with a still-damp paint film over it is exactly the environment mold wants back.
And one more EPA rule that matters more than almost anything else in this list: do not paint or caulk over moldy surfaces. Clean up the mold and dry the surface first. Paint applied over active mold is likely to peel — which means you'd be doing this whole job twice.
If you'd rather skip bleach and ammonia-based products entirely for a whole-house approach, our guide on natural mold removal without bleach or toxic chemicals walks through the broader toolkit, and the safe, natural products guide covers what to reach for room by room.
Where the Sanitify Acidic Cleaner Fits (and Where It Doesn't)
I want to be very clear about this one, because it's the single most important boundary in this whole article.
The Sanitify Acidic Cleaning Spray (€36, sold as a 4-pack of 500ml ready-to-use bottles) is a genuinely strong option for mold, rust, and limescale — on the right surfaces. Grout lines. Tile. Window sills. Bathroom trim. The unpainted stuff bordering the wall you're worried about.
It is not for the painted wall or ceiling itself. That's not a suggestion — it's a hard rule from the product's own documentation, because the acidic formula carries a real risk of damaging paint adhesion. Spray it on your painted drywall and you risk lifting or degrading the very paint film you're trying to protect.
So here's the practical split: if the mold patch on your wall runs down into the grout line at the base, or has crept onto the window frame trim, or is sitting on unpainted tile in the shower surround — that's where the acidic cleaner goes. Spray it on those adjoining non-painted surfaces, let it work, wipe clean. For the painted wall or ceiling surface itself, stick with the detergent-and-water or vinegar method from the previous step. Two different surfaces, two different products, and the line between them matters.
The Colonize Step: Protecting the Painted Surface After Cleanup
Once the wall is clean and — this part's non-negotiable — completely dry, there's a second step worth adding, and it's a different kind of product entirely.
The Sanitify Home Cleaning Set (€49) pairs the acidic concentrate above with a probiotic concentrate, and it's the probiotic half that's built for this moment. It's pH-neutral and, per its own product documentation, safe for use on painted surfaces. You apply it after the wall's been physically cleaned and dried, and it provides up to 72 hours of surface protection while you work on the actual moisture problem in the room.
Let me be precise about what that means, because it's easy to oversell this kind of product and I'd rather undersell it than mislead you. This step doesn't kill mold. It doesn't sterilize the wall. What it does is occupy the surface with a benign microbial population during that 72-hour window — a competitive-exclusion effect, not a disinfection one — so there's less room for mold spores to re-establish while conditions are still recovering. It's a bridge, not a fix. If you want the fuller picture on how this mechanism performs, the probiotic mold reduction study breaks down the data, and the mold sector hub has the wider context on the approach.
It absolutely does not replace fixing your ventilation or humidity. Nothing does. It protects the freshly cleaned surface while you handle that underlying cause — which brings us to the part that actually determines whether any of this sticks.
Ventilation and Humidity: The Fix That Actually Stops Regrowth
Here's an uncomfortable truth from the EPA, stated plainly: it is impossible to get rid of all mold if the underlying moisture problem persists. You can clean a wall perfectly and it'll grow back in six weeks if the room stays humid.
The number to know is 50 to 60 percent relative humidity. Keep a room below that range consistently, and you take away the condition mold needs to establish itself in the first place. Above it, especially sustained above it, you're basically running a greenhouse.
Practically, this means: extractor fans in bathrooms and kitchens that actually get used, not ones that get flipped on for thirty seconds out of habit and switched off before the steam clears. Windows opened after a shower, even in winter, for ten minutes. A dehumidifier in any room that fogs up glass or feels sticky — basements, bathrooms without great airflow, north-facing bedrooms in older homes.
A cheap hygrometer costs less than a coffee and tells you exactly where you stand instead of guessing. If your bathroom sits at 70% for hours after a shower, that's your answer right there.
Ceilings Are a Different Animal (Condensation and Failing Fans)
Ceiling mold gets treated like wall mold in a lot of advice, and that's a mistake. It's usually a different mechanism entirely.
Walls tend to mold from leaks, splashes, or general room humidity settling against a cold surface. Ceilings, especially in bathrooms, mold from condensation — warm, moist air rising off a hot shower and meeting a ceiling surface that's colder than the air around it. Water condenses out right there, and if it happens often enough without drying between showers, mold sets up shop.
The usual culprit is the exhaust fan, and it's rarely obvious. A fan that's undersized for the room, one that's simply broken, or — this one catches people off guard — a fan that's venting into the attic space instead of straight outside. All that moist air has to go somewhere, and if it's not actually leaving the house, it's just relocating the problem. Greenworks notes that mold and condensation damage can develop within 24 to 48 hours of a fan failure — that's how fast this moves once the ventilation stops doing its job.
Know the early signs before they turn into a full ceiling patch: black or green speckling starting near the fan housing or in the corners, a musty smell that shows up before you can see anything, and ring-shaped water stains that look more like a coffee cup mark than obvious mold. Catch it at the speckling stage and you're looking at a wipe-down. Catch it after the ring stain's been there for months and you might be looking at ceiling tile replacement instead. Our bathroom mold prevention guide goes deeper on fan sizing and venting fixes if that's the room giving you trouble, and if it's a below-grade space instead, the basement mold and moisture control guide covers the specific humidity dynamics down there.
Repainting Only After It's Actually Clean and Dry
Once the wall's clean, dry, and you've addressed the moisture cause, repainting is reasonable — with one honest caveat before you pick up a roller.
Mildew-resistant paint is a real, useful product. It typically means a high-quality acrylic primer containing a mildewcide, topped with a paint formulated the same way — both containing agents that actively inhibit mold growth on the paint film itself. Forbes Home and Dunn-Edwards both confirm this is a legitimate preventive layer, not marketing fluff.
But it's a preventive layer, not a cure. Forbes Home is explicit on this point: mold-resistant paint doesn't mean mold will never appear again. It's designed to prevent future growth on the paint film — it does nothing for a live infestation already present, and mold can absolutely return if the moisture problem underneath was never actually fixed. Don't let a "mold-resistant" label talk you into skipping the ventilation work.
One more thing worth knowing if you're repainting a bathroom or laundry room: avoid oil-based or alkyd paints in damp spaces. Benjamin Moore notes these paints contain organic substances that can actually feed fungal growth — which is the opposite of what you want on a wall that's already prone to humidity. A quality acrylic or latex paint with mildewcide is the better call every time.
And regardless of whether mildew is visible right now, Sherwin-Williams recommends cleaning and sanitizing before repainting, full stop. Mold's a living organism. Paint over it and it keeps growing underneath the new coat — you've just given it a fresh surface to work through.
When to Call a Professional
Most wall and ceiling mold is a DIY job. Not all of it.
The EPA draws a specific line: if the moldy area is smaller than roughly 10 square feet — think a patch about 3 feet by 3 feet — it's reasonable to handle yourself with the steps above. Bigger than that, and it's time to bring in a professional.
There are other triggers too, and none of them are about the size of the patch. If the mold is growing on unpainted, porous drywall or plaster rather than sitting on a paint film, that's a material problem, not a surface one — it needs assessment, possibly removal and replacement, not a spray bottle. If mold keeps returning to the same spot after you've genuinely cleaned it properly and fixed the humidity, something's still wrong that you can't see — a slow leak inside the wall cavity, insulation holding moisture, something structural. And if you're looking at paint that's peeling, bubbling, or cracked, remember what that signals: moisture already reached the drywall itself. In that scenario, the material underneath may need to be cut out and replaced rather than cleaned, which is squarely a job for someone with the right tools and training.
There's no shame in this. A contractor who does mold remediation for a living can assess in five minutes what would take you a weekend of guessing.
A Realistic Wall & Ceiling Routine
None of this needs to become a hobby. Here's a cadence that actually holds up over a year without turning into a chore you resent.
After the initial removal, do a monthly spot-check on any wall or ceiling that's given you trouble before — thirty seconds with a flashlight in the corners near vents and fan housings. Keep a hygrometer somewhere in the problem room and glance at it occasionally; you're aiming to stay under that 50-60% humidity mark most of the time, not obsessively monitoring it.
For the probiotic protection step, reapply more frequently — closer to every 72 hours — during any period where the moisture problem in the room is still being actively resolved, say while you're waiting on a fan repair or running a dehumidifier to bring a damp basement down. Once the room's genuinely dry and staying there, you can drop that down to an occasional refresh rather than a strict schedule.
A short checklist, if it helps:
- Fix the moisture source before anything else.
- Clean the painted surface with detergent-water or the vinegar method — never bleach, never the acidic cleaner.
- Use the acidic cleaner only on adjoining grout, tile, or trim that isn't painted.
- Dry completely before doing anything else.
- Apply the probiotic step to the clean, dry painted surface for 72-hour protection.
- Fix ventilation and monitor humidity — this is the step that actually prevents the sequel.
- Repaint only once it's clean and dry, and consider a mildewcide-formulated paint if the room stays humid.
That's the whole routine. It's not complicated. It's just sequential, and skipping steps is exactly how the mold shadow comes back six weeks later looking exactly like it did the first time.
FAQ
How do you get mold off walls permanently?
There's no permanent fix that skips the moisture question — the EPA is direct that it's impossible to eliminate mold entirely if the underlying moisture problem stays active. The real sequence is: fix the moisture source, clean the surface with detergent-water or diluted vinegar, dry it completely, then keep humidity in the 50-60% range going forward. Skip the humidity control and any cleaning method is temporary.
Does bleach kill mold on walls?
Bleach can kill surface-level mold spores it directly contacts, but on painted walls it causes more problems than it solves. It strips pigment from the paint, leaving a blotchy lighter patch, and multiple sources confirm it doesn't penetrate as deep as people assume — meaning the mold underneath often survives anyway. A detergent-water scrub or diluted vinegar spray is the gentler, more effective choice on painted surfaces.
Why does mold keep coming back on the same wall?
Almost always because the moisture source was never actually fixed — a slow leak, poor ventilation, or a room sitting above 60% humidity. Cleaning removes what's visible but does nothing to the condition that let it grow in the first place. If it keeps returning after proper cleaning and humidity control, that's a sign to call a professional and check for a hidden source.
Is it safe to remove mold yourself?
For small patches — the EPA's benchmark is under roughly 10 square feet, about 3 feet by 3 feet — yes, with proper protection: an N-95 respirator, gloves, and goggles, plus good ventilation while you work. Larger areas, mold on porous unpainted drywall, or recurring mold after a real cleanup are situations where a professional is the safer call.
Can you remove mold from painted walls without damaging the paint?
Yes — the key is skipping bleach and using detergent and warm water, or a 3:1 water-to-vinegar spray with a soft-bristle brush instead. Semi-gloss and satin finishes handle scrubbing well; flat or eggshell sheens may need a light touch-up afterward. Whatever cleaner you use on the painted surface, avoid the acidic mold cleaner there — it's formulated for non-painted surfaces like grout and tile, not paint film.
What's the difference between mold and mildew on a wall?
In everyday cleaning terms, mildew usually refers to a surface-level, often powdery or fuzzy growth, while mold covers a broader range including deeper-rooted growth that's gotten into the material itself. The distinction that actually matters for cleanup, though, is whether the paint film is intact or compromised — intact paint means you're likely dealing with surface growth either way, while peeling or bubbling paint means moisture reached the material underneath.
Does mold-resistant paint actually stop mold from coming back?
It helps, but it's not a cure. Mildew-resistant paint contains agents that inhibit mold growth on the paint film itself, and it's a legitimate preventive layer once a wall is clean. But it doesn't eliminate a live infestation, and mold can still return if the room's underlying moisture problem isn't addressed.
Why is there mold on my ceiling but not the walls?
Ceiling mold, especially in bathrooms, is usually a condensation problem rather than a leak — warm, moist air from showers rises and meets a cooler ceiling surface, where it condenses. It's frequently tied to exhaust fan failures: a fan that's undersized, broken, or venting into the attic instead of outside can let mold develop within 24 to 48 hours. Walls typically mold from splashes or general room humidity, which is a slower, different mechanism.
How big does a mold patch need to be before I call a professional?
The EPA's guideline is around 10 square feet — roughly a 3-foot by 3-foot patch. Below that, careful DIY cleaning with proper protection is reasonable. Above it, or if you're seeing peeling paint, mold on exposed unpainted drywall, or regrowth after a proper clean, bring in a professional.
Can I paint over mold if I prime it first?
No. The EPA is explicit that you should never paint or caulk over moldy surfaces — clean up the mold and dry the surface completely first, because paint applied over active mold is likely to peel. Mold is a living organism, and painting over it just gives it a fresh surface to keep growing under, primer or not.